10 Techniques for Sharp Landscape Images
12 November 2020
Follow these rules to generally get sharp landscape images. Understand the ideas behind them to always get the sharpest landscape image you can get.
1. Use Support
Shoot on a tripod, preferably without extending the center column if the tripod has one.
2. Use Manual Focus
Use manual focus, setting focus using live view zoomed in to 10x magnification. Focus on your subject. Do not just turn the lens focus all the way to its farthest extent, as this will focus past infinity on most lenses and cause everything to be blurry. Spend some time going back and forth until you’re confident you have things in the best focus possible. Regularly re-check focus if you move the camera or if it’s hot or cold, as this can cause the lens to expand/contract. Review your focus by zooming into the captured image in live view after you’ve taken it.
3. Turn Stabilization Off
Turn off lens stabilization if your lens has it when you’re shooting on a tripod. The stabilizer can move slightly during the exposure which will actually introduce blur when your camera isn’t moving. There are a few exceptions, however. If you’re in a situation where there’s a lot of wind buffeting your camera and making it shake, or you’re on a surface like a bridge that might vibrate, it’s probably better to leave it on.
4. Use Live View
Shoot photos in live view mode so that the mirror stays locked up (otherwise the mirror flipping up will make the camera shake and introduce blurriness). Basically, only use your viewfinder to scout framings and compositions, everything else should generally be in live view.
5. Don’t Shake the Camera
Turn on the 2-second timer or shoot with a remote so that you don’t shake the camera when you press the shutter button. The timer gives your camera time to settle after you push the button before the exposure is taken.
6. Close Your Aperture
Typically stop down the lens aperture to f/8-f/11 to get the maximum sharpness and more depth of field (although in some cases you may want to use a wider aperture to cause certain things to go more out of focus - just know that lenses generally are at their sharpest in the f/8-f/11 range). Higher f-numbers (f/16-f/32) will further increase the depth of field but overall will introduce general image blurriness due to diffraction.
7. Use the Lowest Possible ISO
If you can use a long shutter speed (i.e. things in your scene aren’t moving), use ISO 100 to minimize image noise (noise reduces image detail and perceived sharpness).
8. Ditch the UV Filter
Only use a front filter if necessary, and if you do, use a quality one. Filters impact image sharpness and can also introduce additional glare.
9. Block the Wind
If it’s windy, shield your camera from the wind so the wind doesn’t shake it, and try to shoot with your tripod in as low a position as possible.
10. Don’t Look Into the Sun
If the sun isn’t in your frame but is in front of you, use your hand or a hat or something to block the sun from shining directly on your lens’s front element (cast a shadow on your lens). This has less to do with sharpness and more to do with improving contrast and reducing glare. If the sun is in your frame, consider taking two exposures - one where you’re shielding the lens from the sun (with a hand or hat in the frame) and another where you aren’t, and use the second image to mask out your hand/hat from the first.
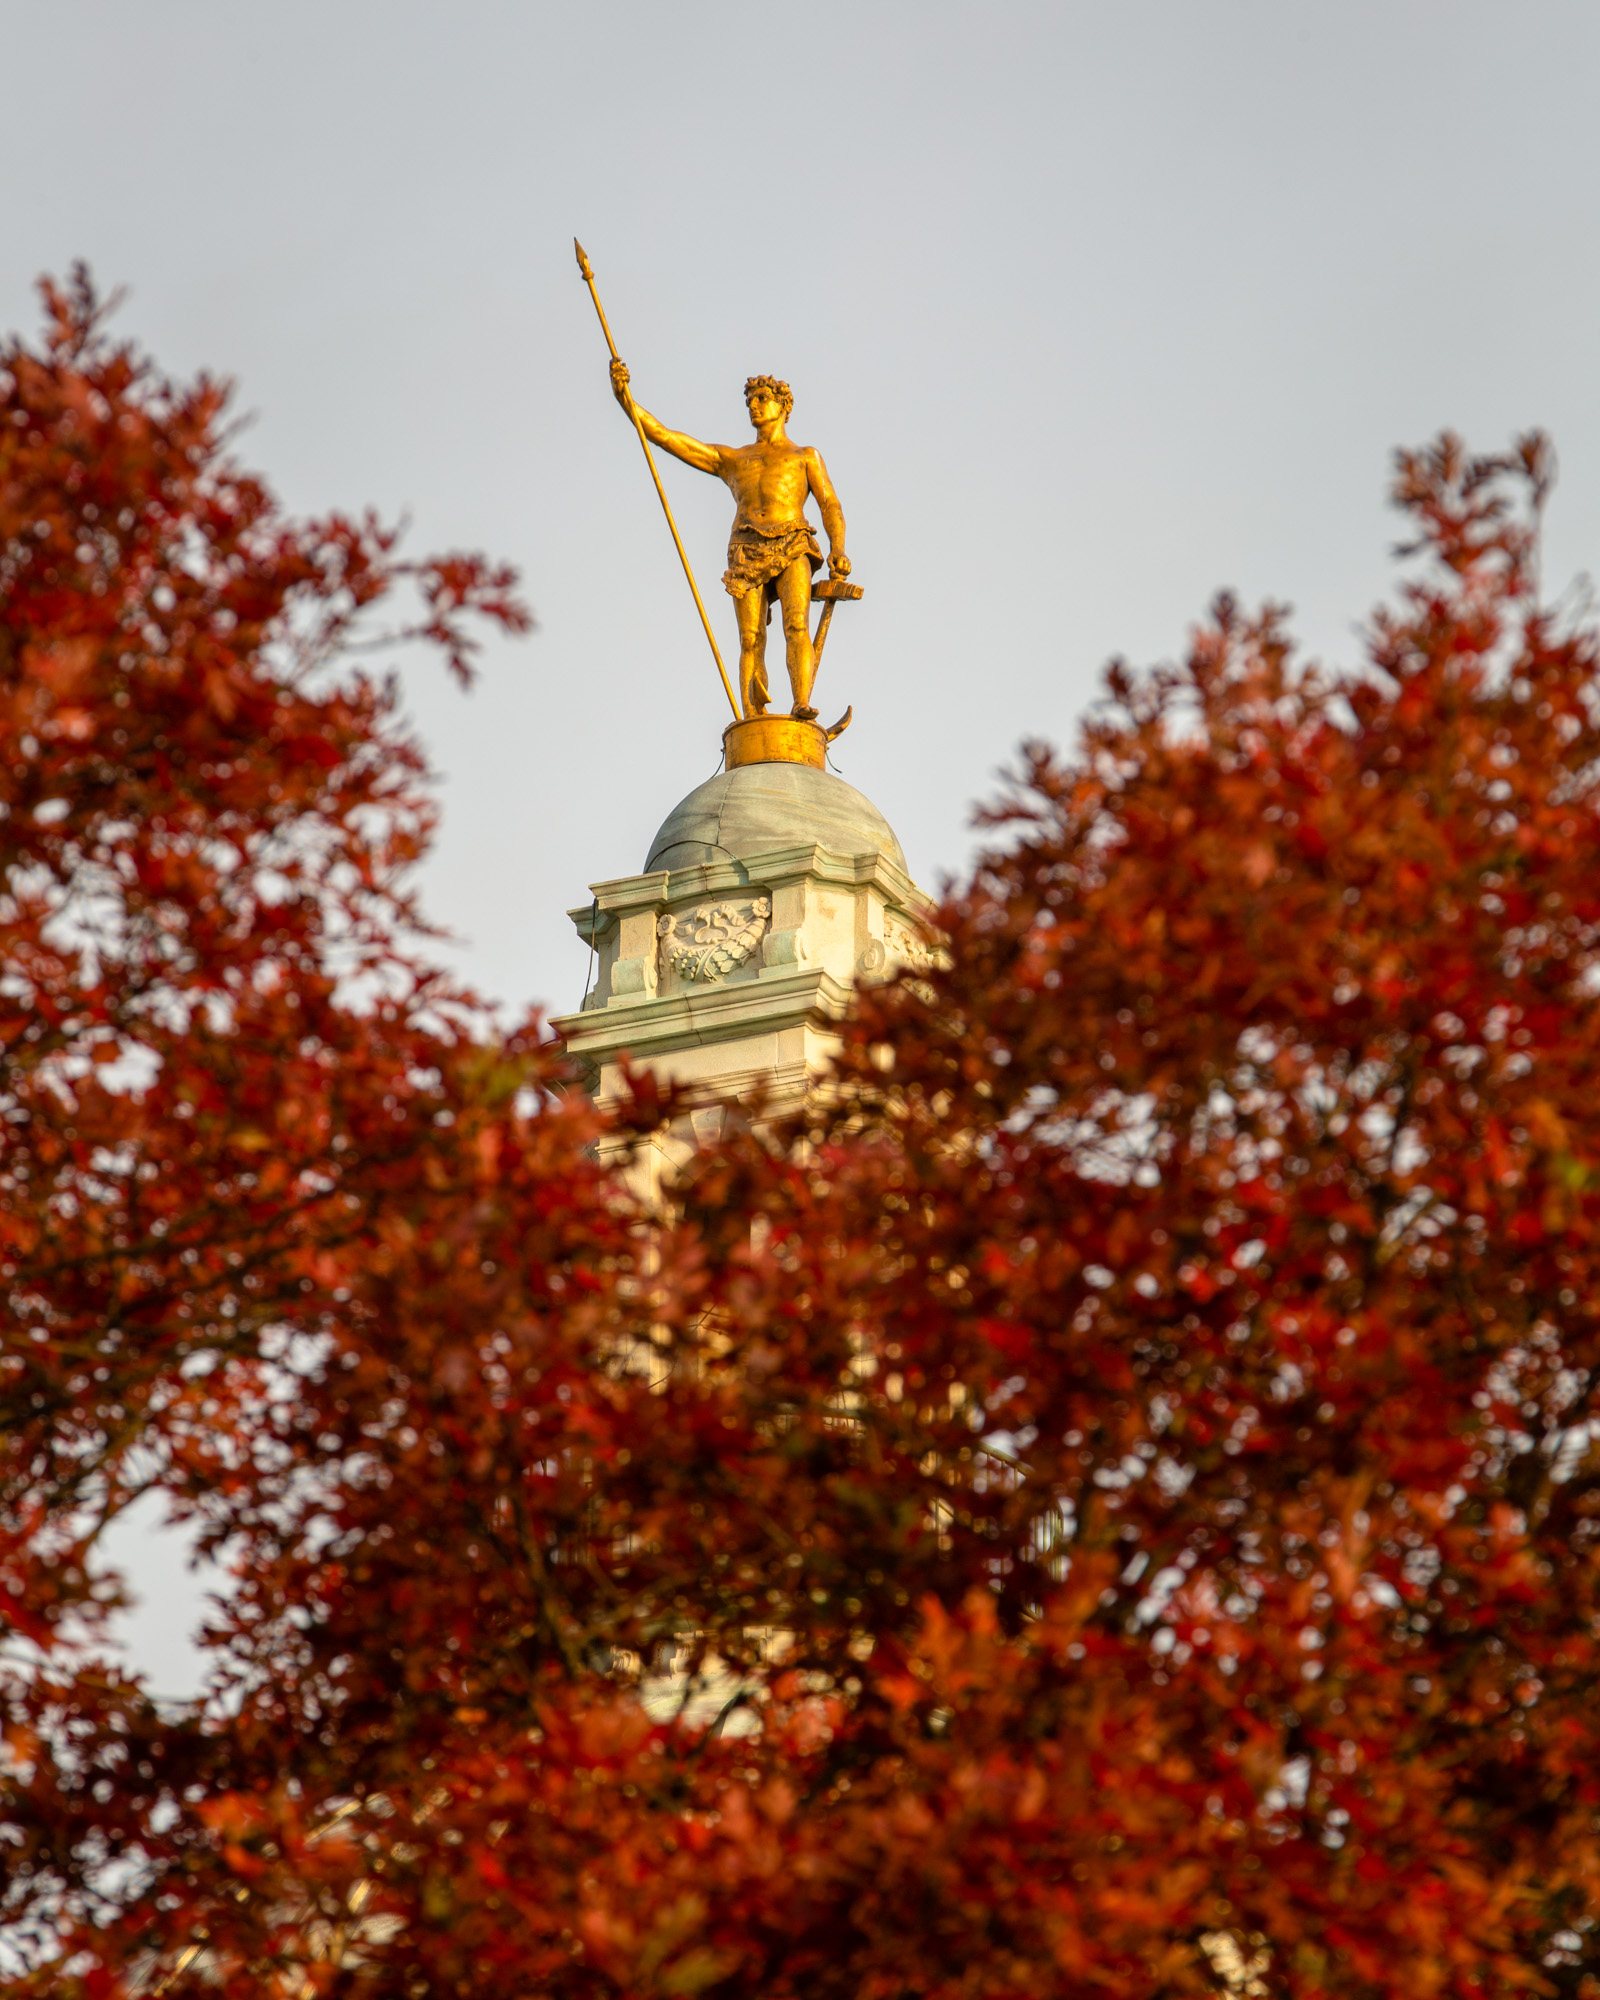
Photo
The Independent Man in Autumn
Canon 5Diii + EF 70-200mm f2.8L IS ii + 2x Extender iii
400mm • ISO 100 • f/11 • 1/50s
